Please note that the Windows Desktop (Bible Study 6) app is no longer being updated and is offered "as is". Our current Windows app is available for download in the Microsoft Store (requires Windows 10). Detailed download steps can be found here.
You can choose from over 50 reading plans in the Bible Study App on Windows Desktop. The backup and sync feature will allow you to sync your reading plans with your other devices. This article shows you how to create and delete a reading plan in your app.
Creating a Reading Plan:
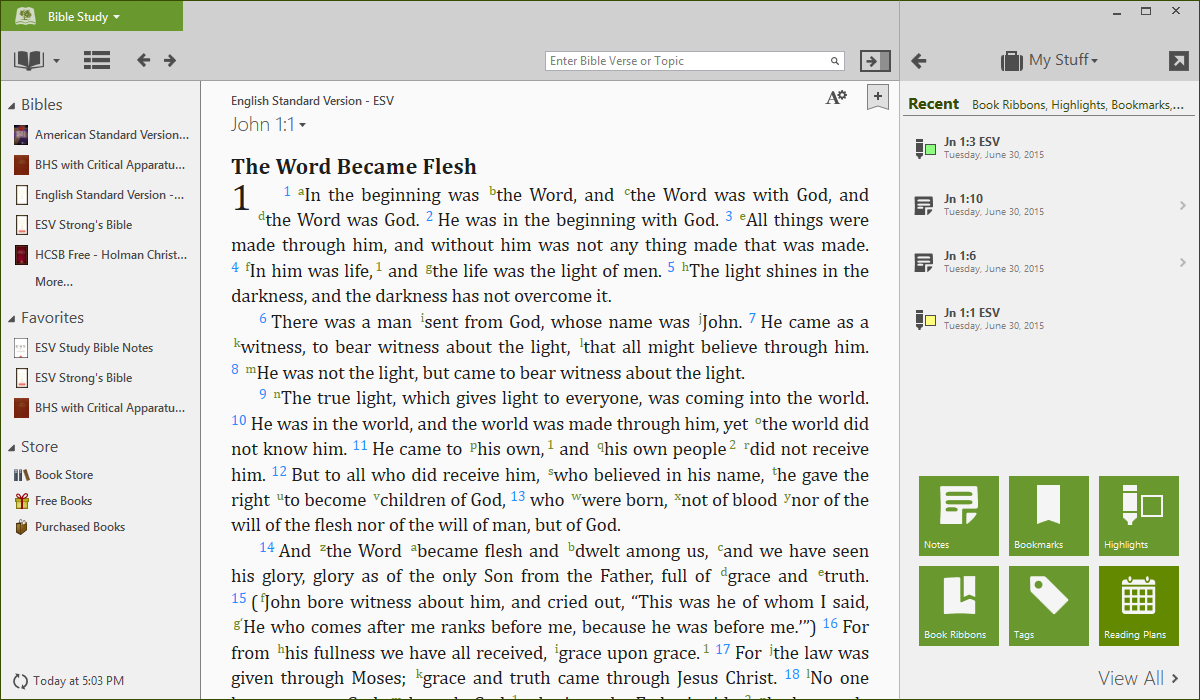
Open the split window by clicking on the arrow in the upper right corner. Click 'Tools and Notes', 'My Stuff', and 'Reading Plans' at the bottom of the screen.
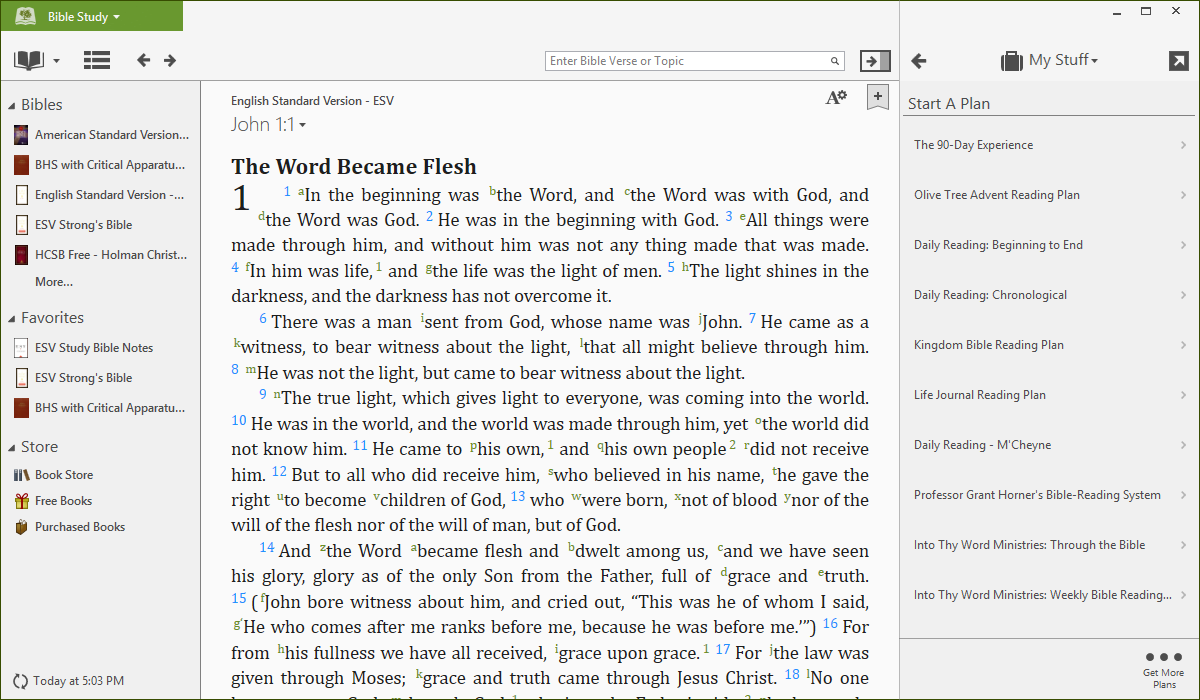
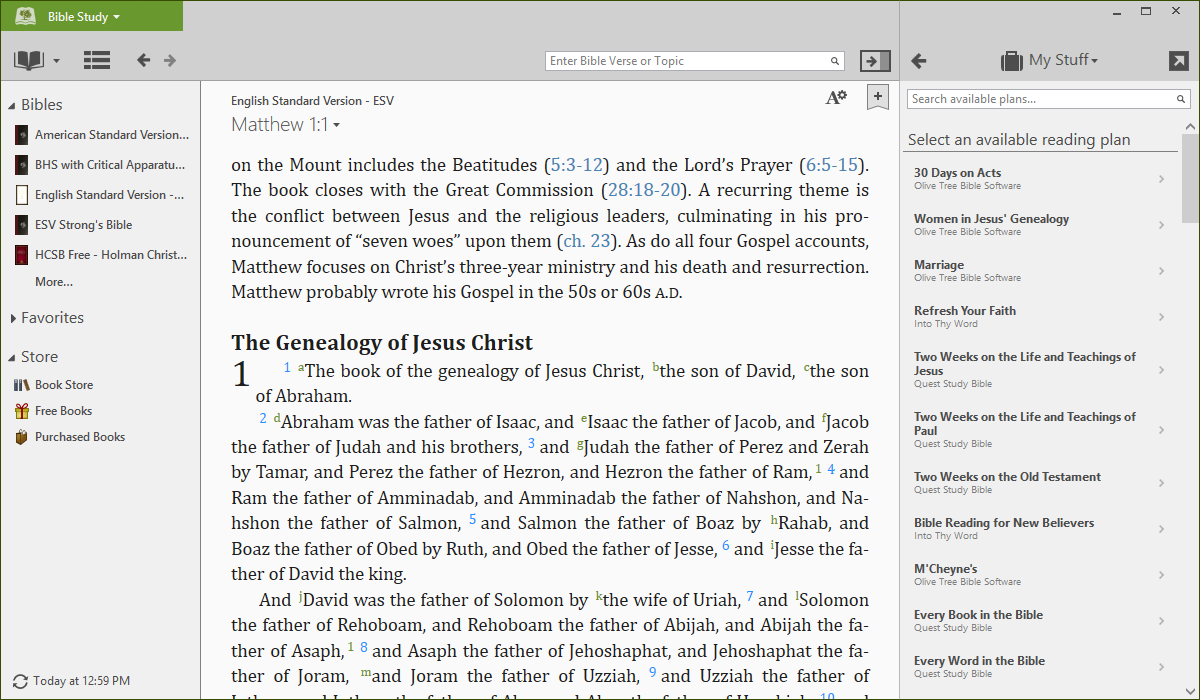
You'll see two options on the screen, 'Reading Plans in Progress' and 'Start a Plan'. To start a new reading plan, you can either click on a plan under 'Start a Plan' or you can click 'Get More Plans' at the bottom of the screen.
Once you've chosen a plan to start, click on the download arrow across from the title of the plan (in the right corner).
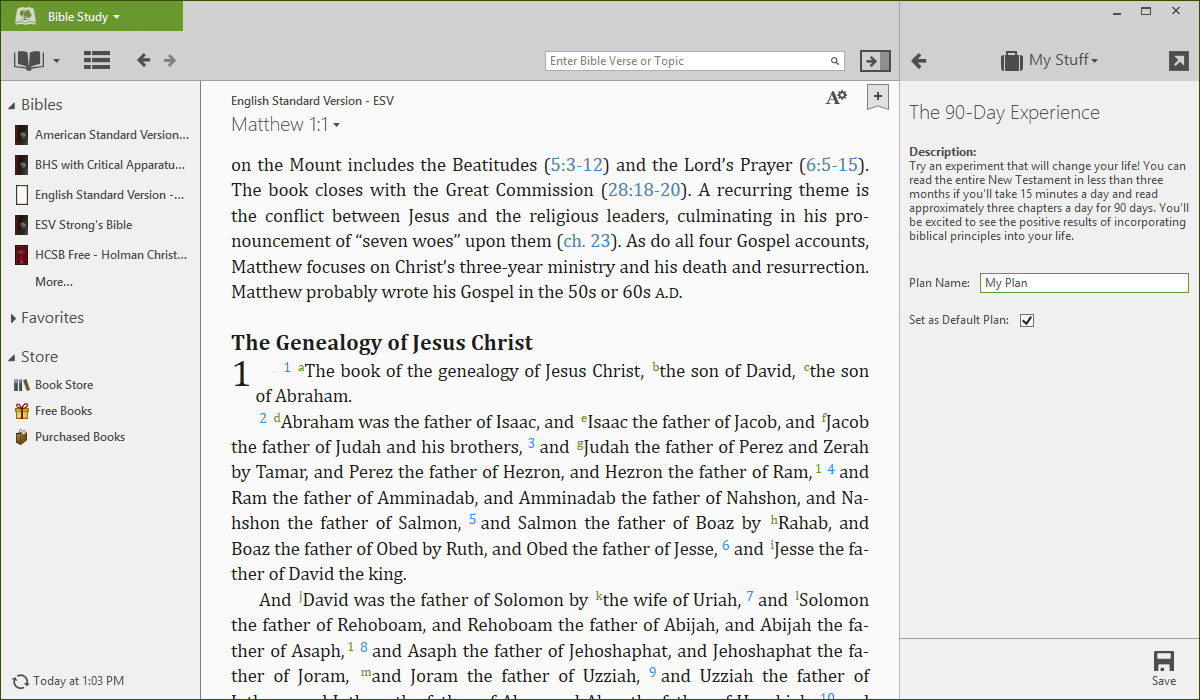
Give the plan a name, and click 'Save'. You can also choose whether to make this plan your default by clicking the box after 'Set as Default Plan'.
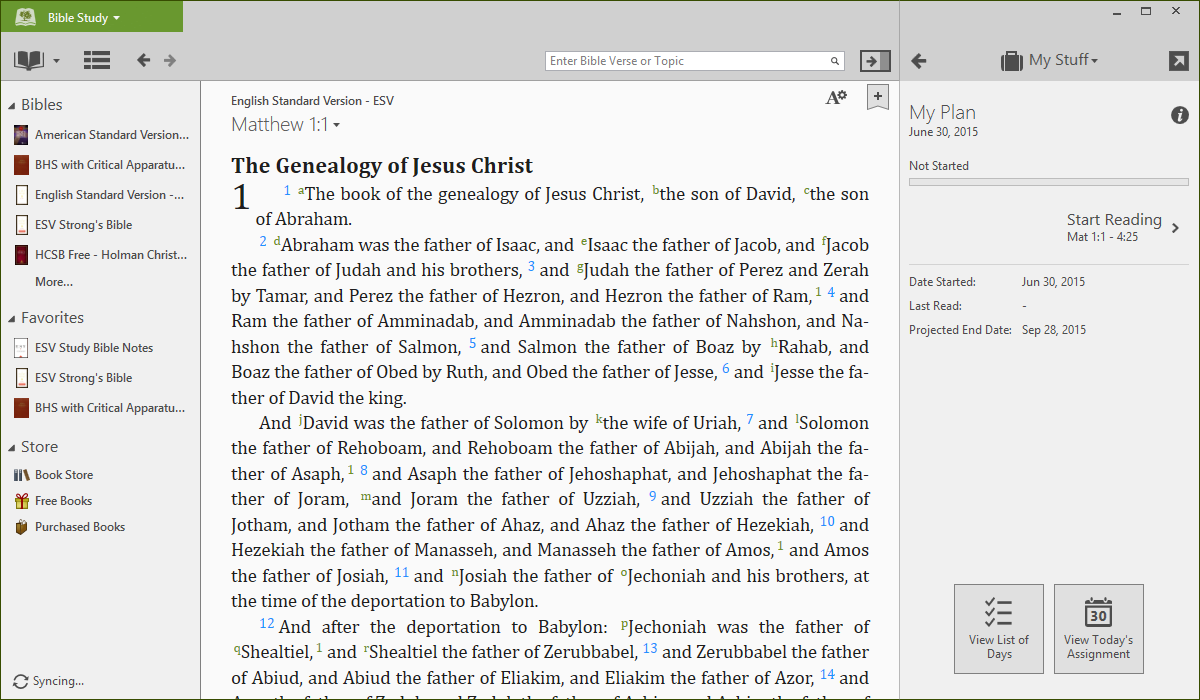
The reading plan with its new name will now appear under the 'Reading Plans in Progress' tab. To start the plan, click the plan, and click 'Start Reading'. Your main window will jump to the first assigned reading.
Click 'Next' to move to the next planned reading. Continue clicking 'Next' until the button turns to 'Done'. Clicking 'Done' will mark off the first day's reading.
To continue reading in your plan, open the My Stuff menu, click 'Reading Plans', click your reading plan, and click 'Continue Reading'.
Delete a Reading Plan:
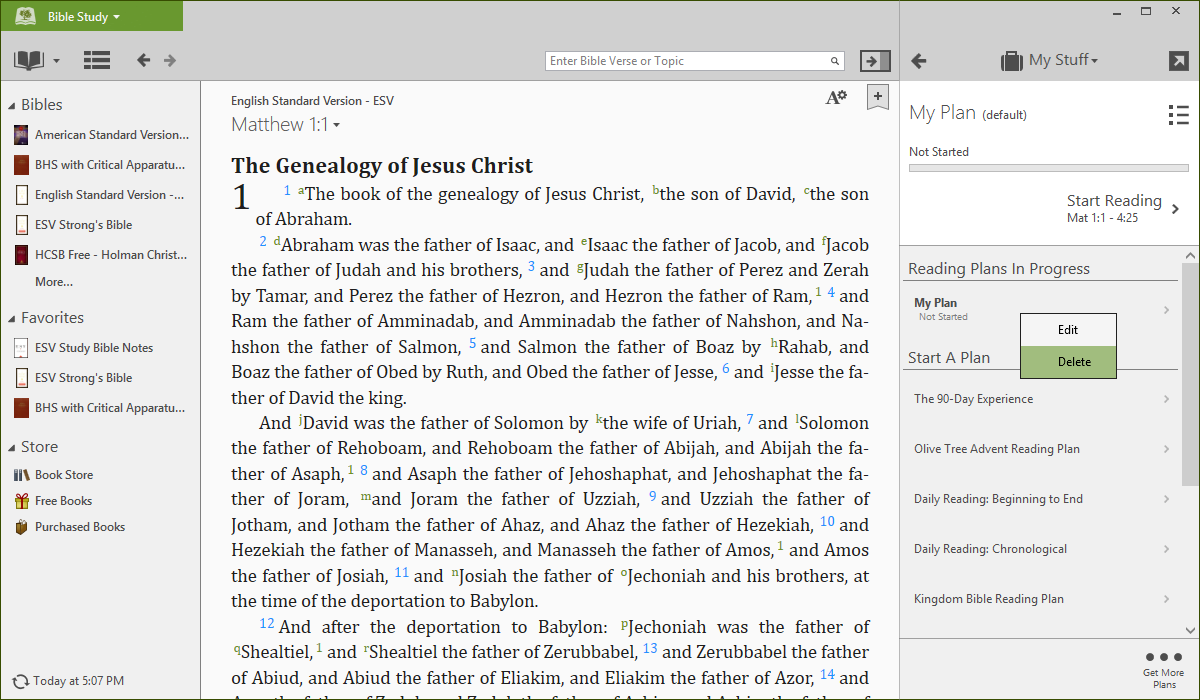
To delete a reading plan, open the My Stuff menu in the split window and click on 'Reading Plans'. Find the plan you want to delete and right click. Choose 'Delete' and 'Yes' from the pop-up window that appears. The reading plan should disappear.
