Please note that the Windows Desktop (Bible Study 6) app is no longer being updated and is offered "as is". Our current Windows app is available for download in the Microsoft Store (requires Windows 10). Detailed download steps can be found here.
There are two ways to add highlights to the Bible on your Windows Desktop app. The first way is by clicking on a verse number. The second way is by highlighting a specific portion of text. This article will also show you how to remove highlights from your Scripture text.
Verse-Based Highlights:
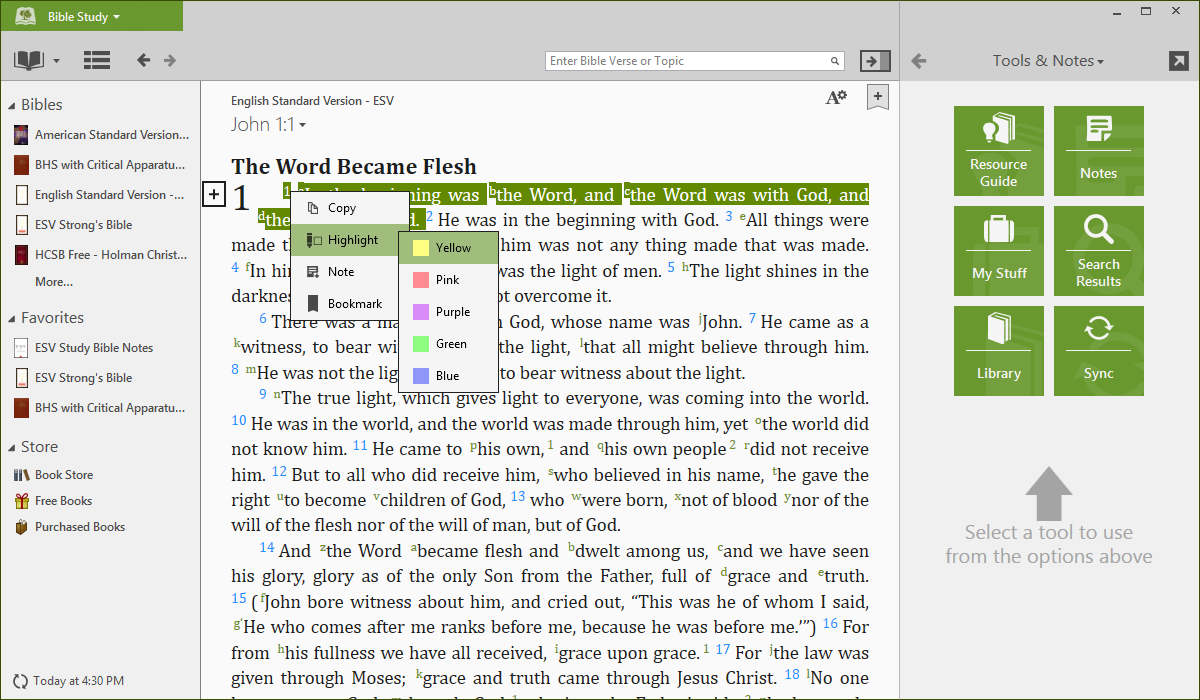
To add a highlight to a full verse, click a verse number and click Highlight. Clicking on a highlight color will add the highlight to your Bible text.
Word-Based Highlights:
Word-based highlights allow you to add highlighting to a personalized amount of text. For example:
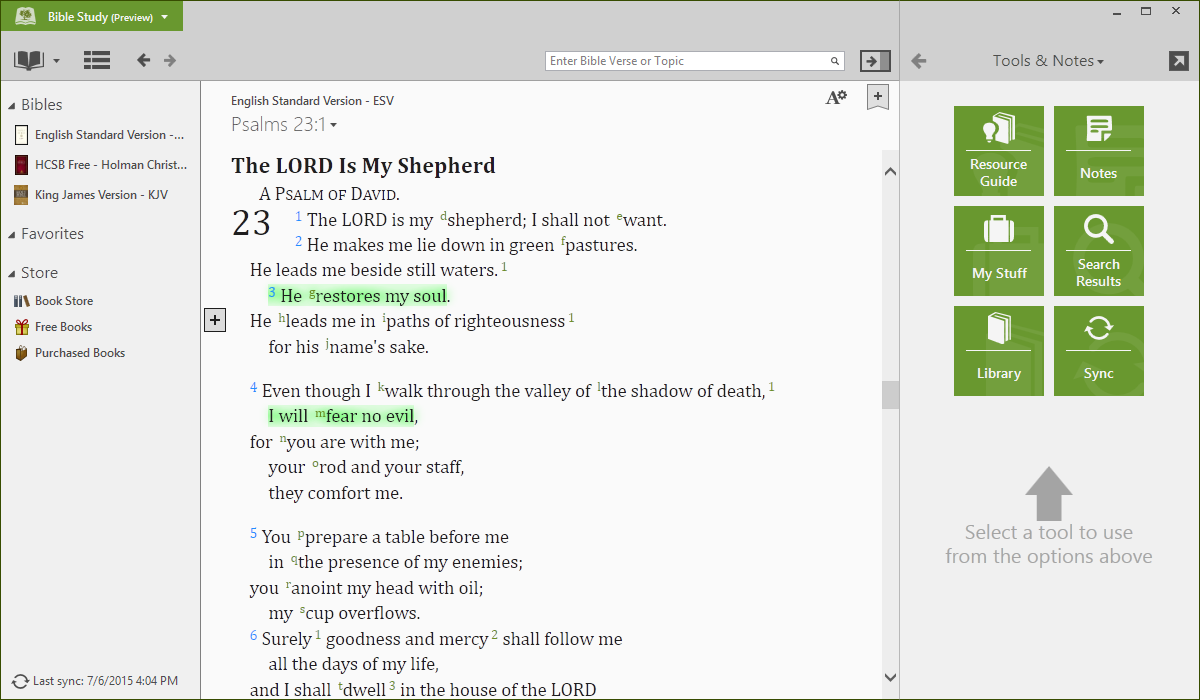
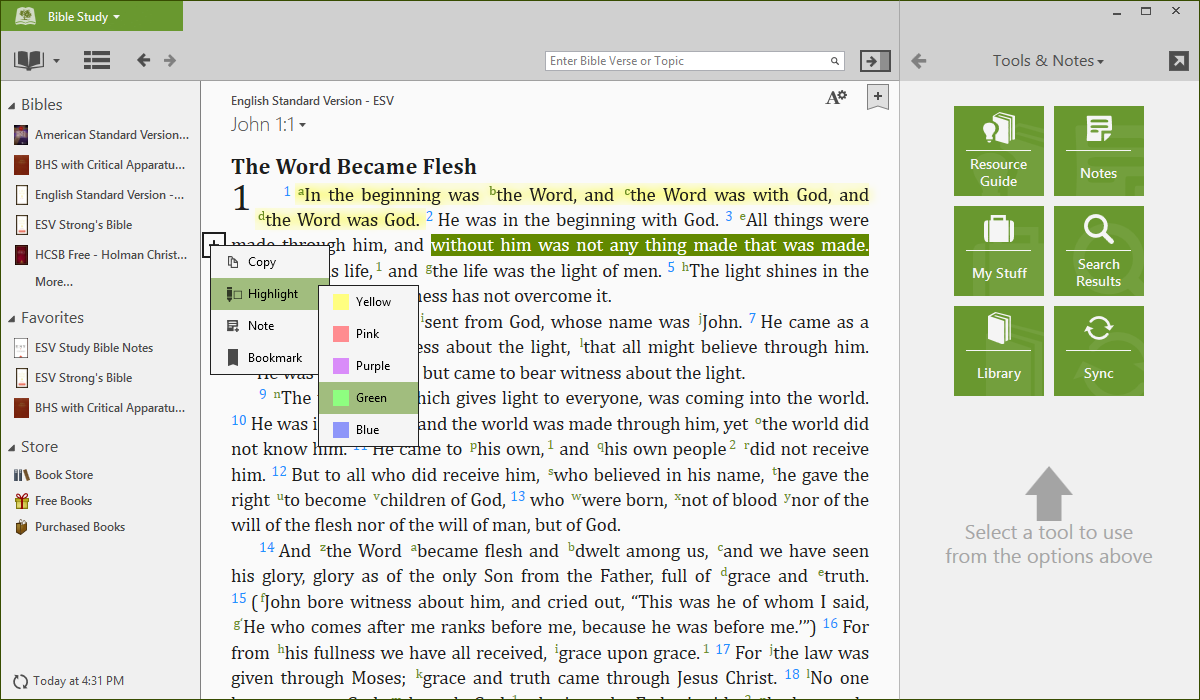
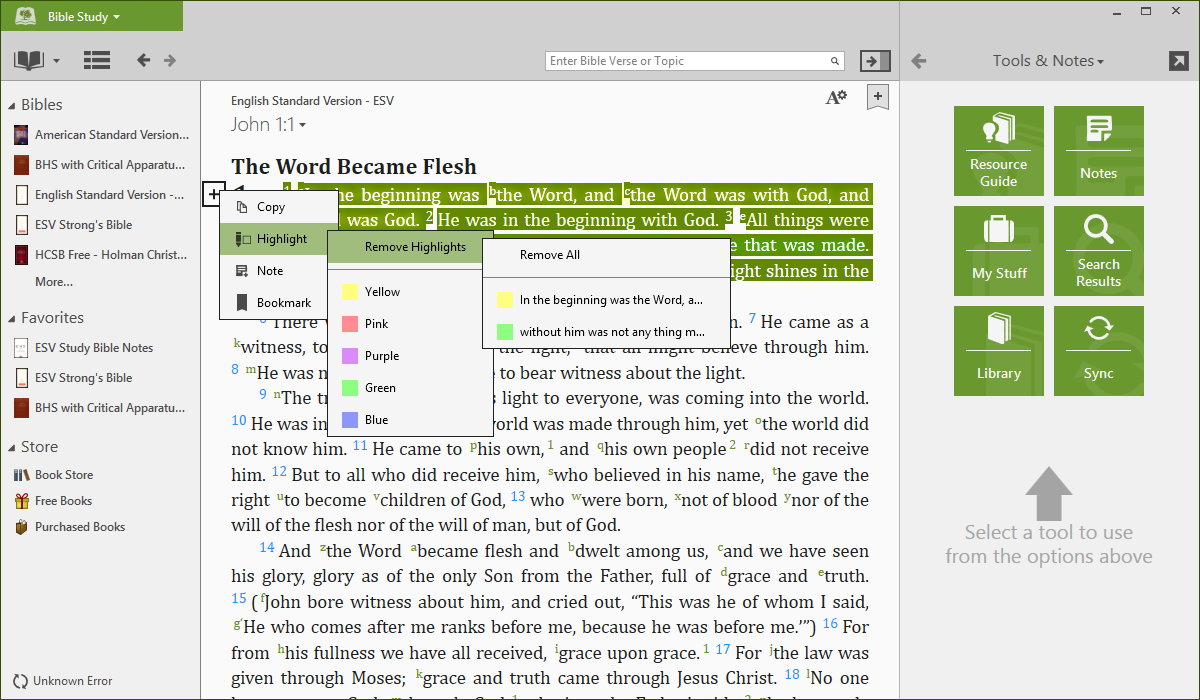
To add word-based highlights, use your mouse to select the text on your screen. From here, you can add a highlight by clicking on the plus icon or by right-clicking on the selected text. Clicking a color will add the highlight to the text.
Removing a Highlight:
To remove a highlight, select the portion of text containing the highlight, right click over the highlight or click the +, select Highlight, select Remove Highlights at the top of the pop-up, and click the highlight you would like to remove.
Creating a New Highlighter:
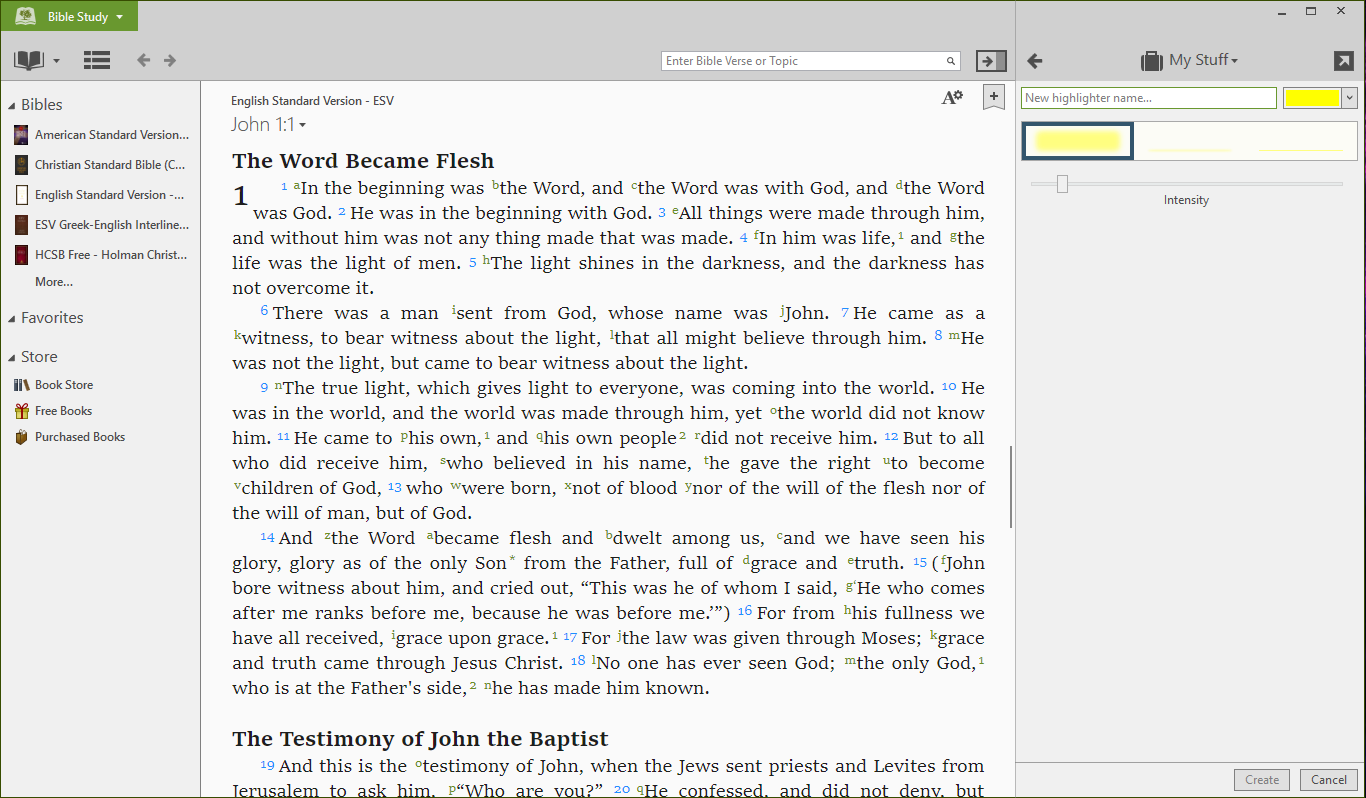
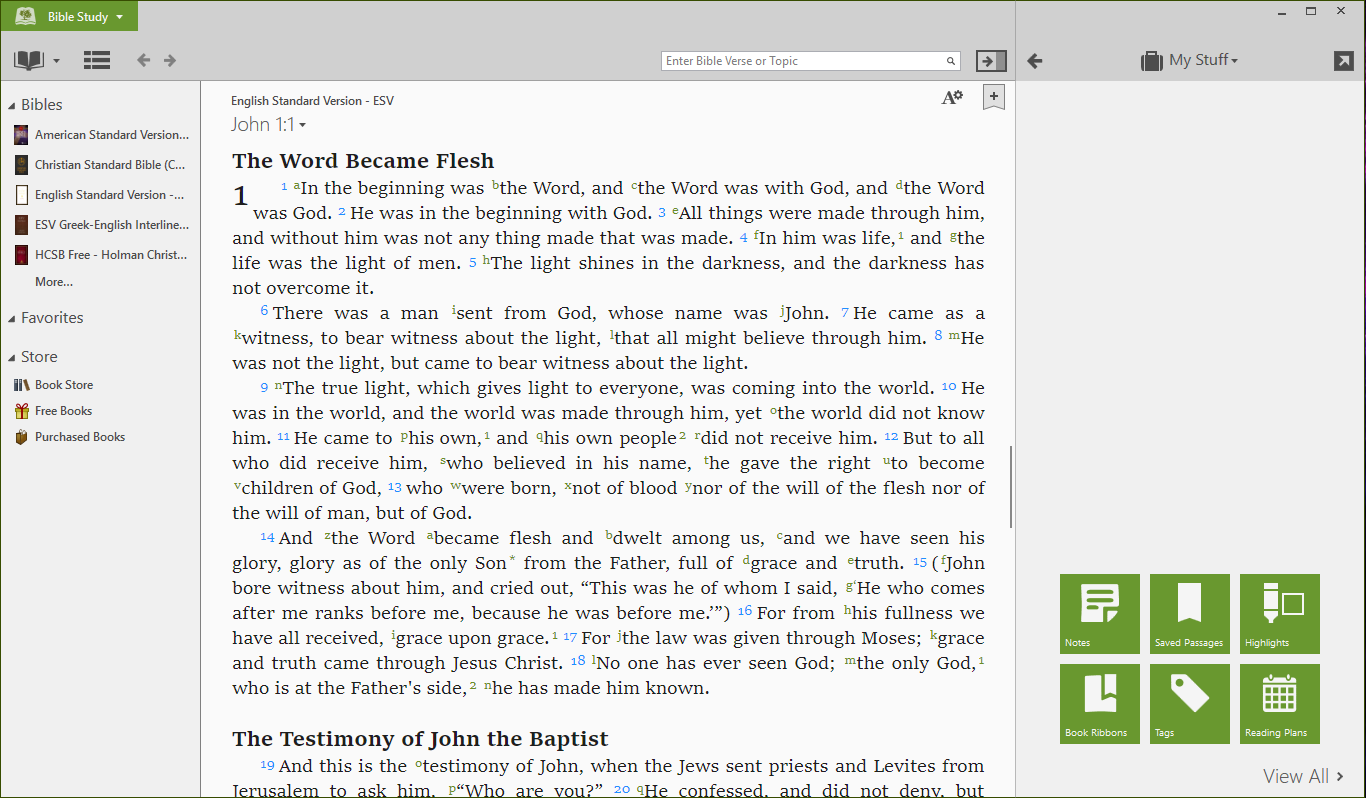
We provide several highlighter options, but you can create your own highlighters as well! To create a highlighter, locate and select 'My Stuff' in the split window. There will be six green squares along the bottom of the window, choose Highlights.
In the Highlights menu, select Create Highlighter at the bottom of the window.
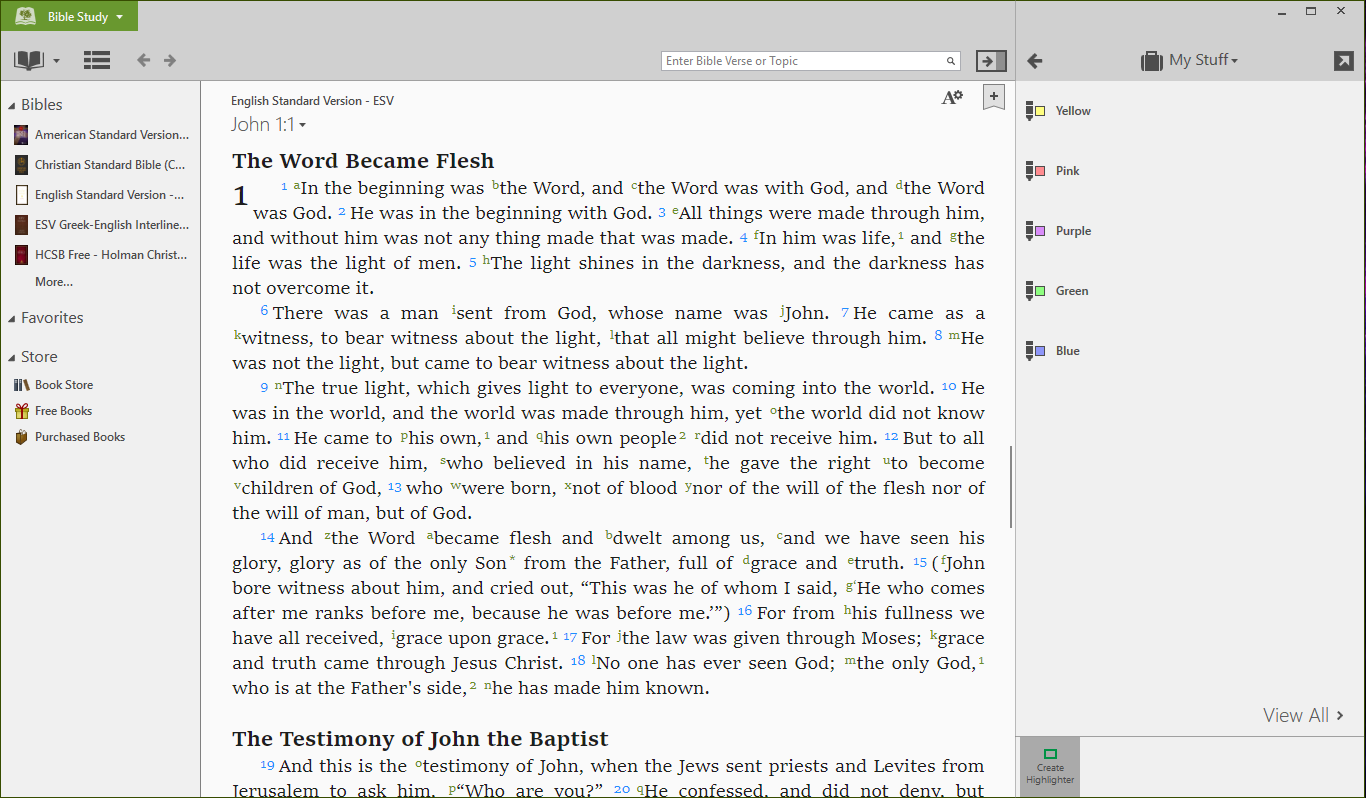
You can then choose the Name, Color, Type, and Intensity of the highlighter. Select create to finish creating the highlighter.